
DIY Built-In Hall Tree
Aaahhh built-ins. One of my favorite design elements. A good built-in adds architectural interest, character, and often, storage. They’re customized to perfectly suit the area and functional needs of the space they’re in, making them an ideal solution for small and multi-purpose rooms.
When I moved into this house, I immediately recognized that the store-bought hall tree I had taken with me from my townhome didn’t fit in my new mudroom/laundry room. It was way too deep, given that my washer and dryer were directly across from it. But I needed a place for my family’s many shoes and jackets. What to do? I know! Create a built-in hall tree!
I knew I wanted a bench with shoe storage and originally considered building my own. But then I stumbled across one that perfectly fit the dimensions I needed (when does that happen?!). It even had tall compartments for my tall boots! The only drawback was the color - dark gray. And it had a glossy finish to it.
Undeterred by the color and sheen, I ordered it and drew up a plan for my new built-in hall tree. I always sketch these types of plans before getting started so I can visualize the layout and get an idea of the materials I need. I ended up deviating from this plan slightly (I didin’t continue the molding above the top shelf and changed the placement of the hooks).

Based on my plan, I picked up five 3” x 8’ square molding, one 5” x 8’ square molding, four corbels, and a 15” x 4’ pine board for the upper shelf from my local hardware store. I placed my store-bought shoe bench against the wall where I wanted the hall tree, then cut a piece of square molding the length of the bench. I secured it horizontally at the top of the bench using my brad nailer and 4’ level.
Side note: I, personally, don’t use adhesive when applying moldings like this because someone may want to remove them someday without completely destroying their drywall. I’ve never had any issue with them coming loose. Especially if you angle your nails when driving them in.

I cut the next four pieces of square molding to the height I wanted my hall tree to be. In this case, I opted to match the height of the hall tree to that of my doors (7 feet). The math on that is: 7’ - height of bench - width of horizontal square molding - thickness of top shelf = length of vertical molding. Using my 4’ level, I secured the vertical moldings equidistant from each other using my brad nailer. Next, I secured my corbels to each of those moldings. Then, I installed the pine shelf on top, screwing it into each of the corbels.
Finally, I cut 3 sections each of the 3” and 5” moldings to the width between the vertical moldings. The 5” moldings were installed directly under the top shelf. The 3” moldings were installed halfway between the top and bottom horizontal moldings. After everything was secured, I caulked every seam using a quick-dry, paintable caulk. I primed everything, including the store-bought bench, and then applied two coats of white paint. When everything was dry, I installed the hooks. In this case, I went with silver, to tie in with the other metals in the room.
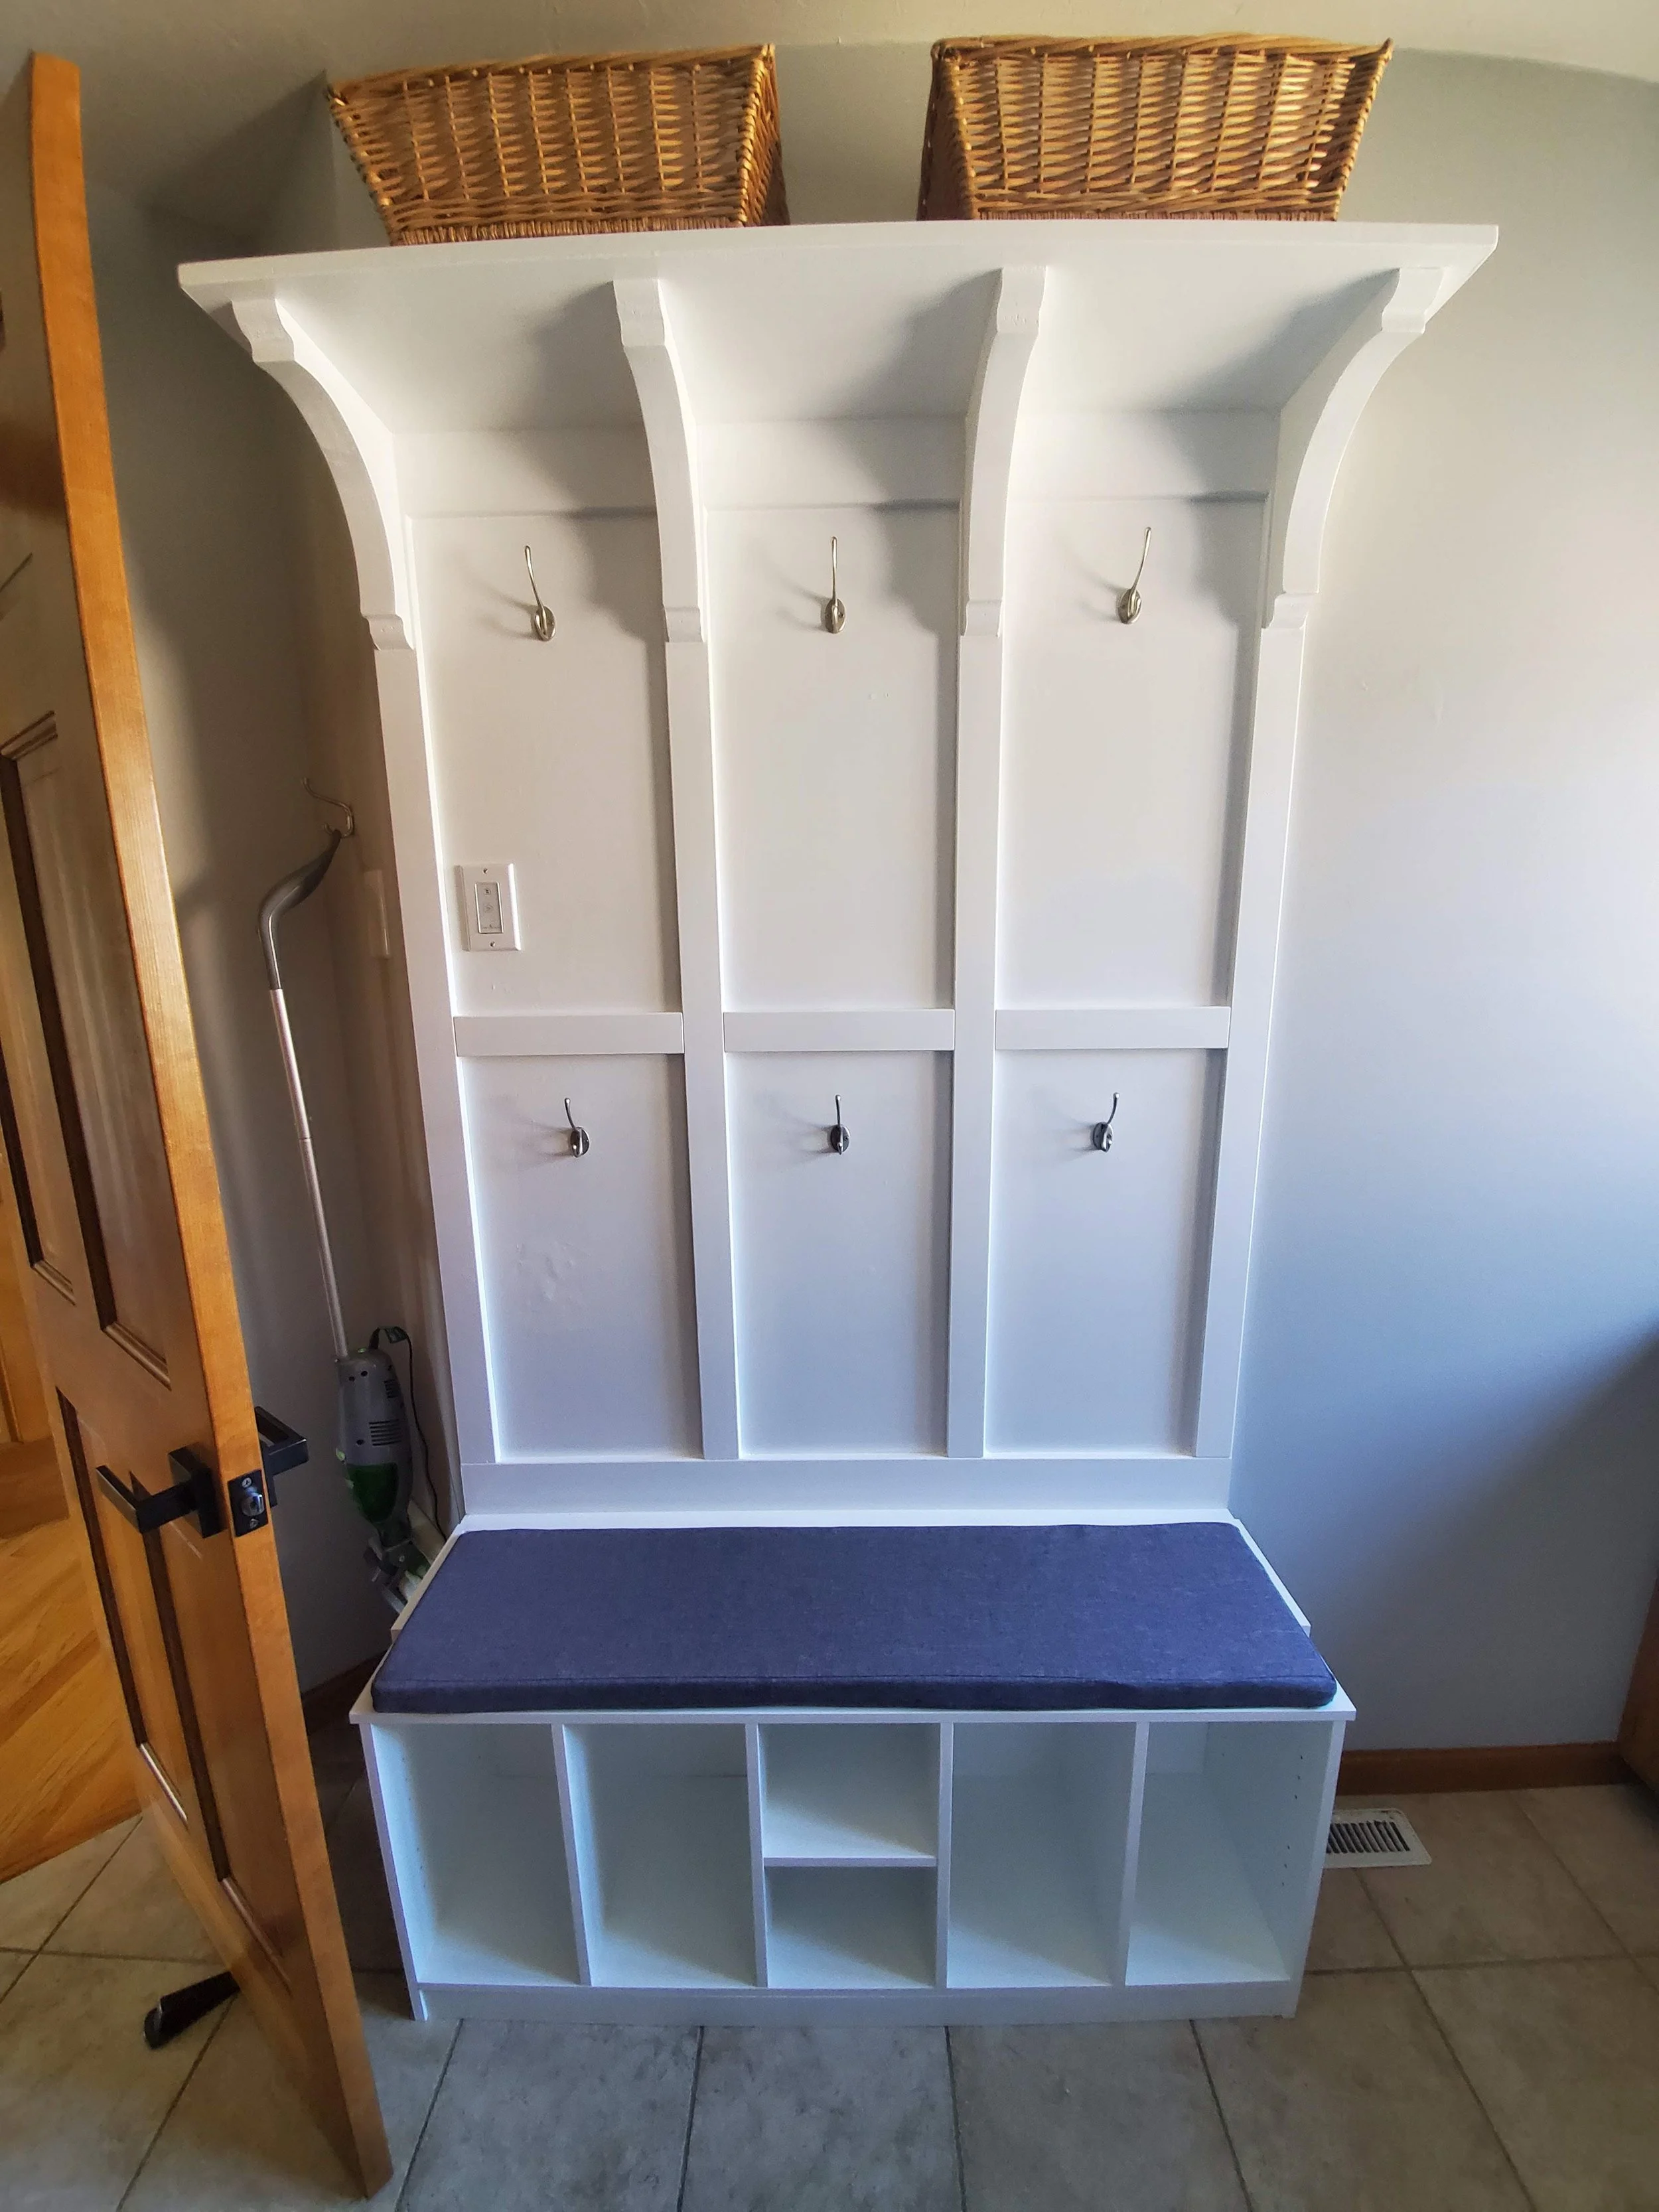
This hall tree stood up very well to heavy, daily use. Yes, the white got occasionally. But I was able to clean it easily and never had an issue with the paint chipping off of the shoe bench, which was a concern because of its original glossy finish. This is a quick and easy project that can be completed over a day or two and will add tons of functionality to your space. Let me know if you’ve tried it and how it turned out!